Securing your Diffusion Cloud service from the Diffusion Cloud Dashboard
Use the Security page of the Diffusion™ Cloud dashboard to add, edit and delete principals in the system authentication store. You can also use it to define the roles assigned to these principals and to anonymous connections.
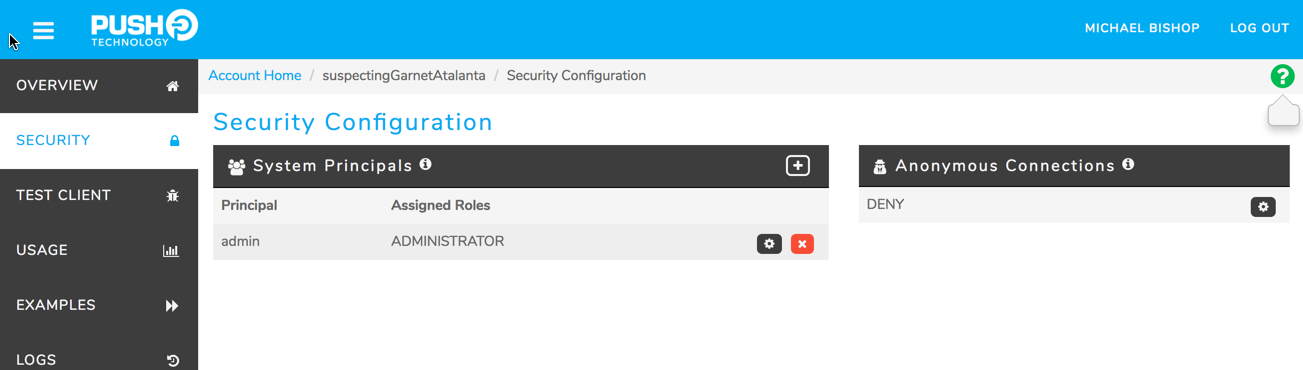
Create a principal
To create a principal, click the + icon in the System Principals table. The Create Principal wizard is displayed:
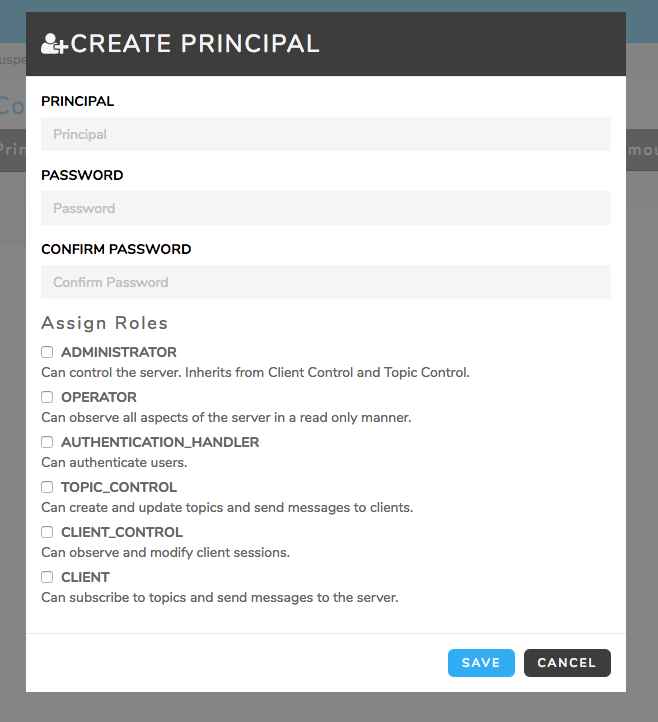
Use this wizard to specify the principal's name and password, and to select which of the default roles is assigned to the principal. Click Save to save your changes and close the wizard.
Edit a principal
To change the password of a principal or change the assigned roles, click the Edit icon ( ) in that principal's row in the System Principals table. The Edit Principal wizard is displayed:
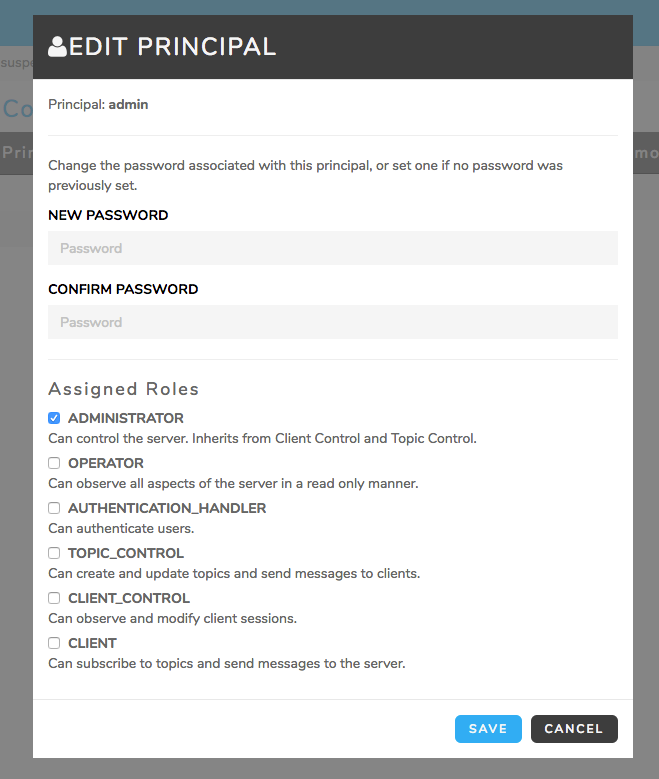
Use this wizard to change the principals's password or to change which of the default roles is assigned to the principal. Click Save to save your changes and close the wizard.
Delete a system principal
To delete a system principal, click the Delete icon ( ) in the system principal's row in the System Users table. The Delete Principal confirmation dialog is displayed:
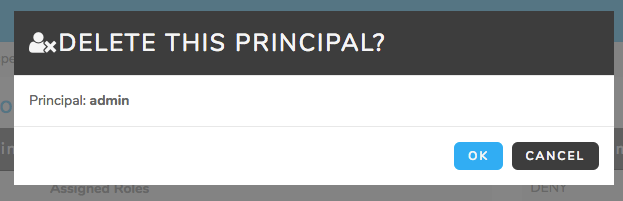
Click OK to confirm the deletion of the principal and close the wizard.
Change the authentication action for anonymous connections
To change the action that the system authentication handler takes when a client connects anonymously, click the Edit icon ( ) in the Anonymous Connections table. The Edit Anonymous Connections wizard is displayed:
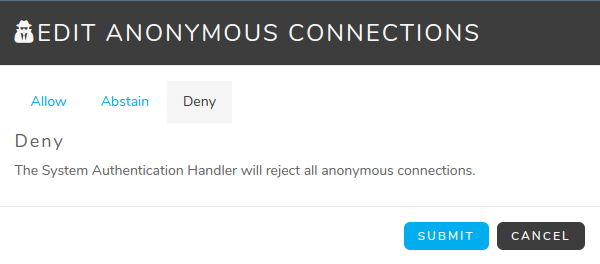
Select the tab for the action the system authentication handler takes when a client connects anonymously. The available actions are Allow, Abstain, and Deny. On the selected tab, click Submit to save your selection and close the wizard.
Change the roles assigned to an anonymous connection
To change the roles assigned to a client that connects anonymously, click the Edit icon ( ) in the Anonymous Connections table. The Edit Anonymous Connections wizard is displayed:
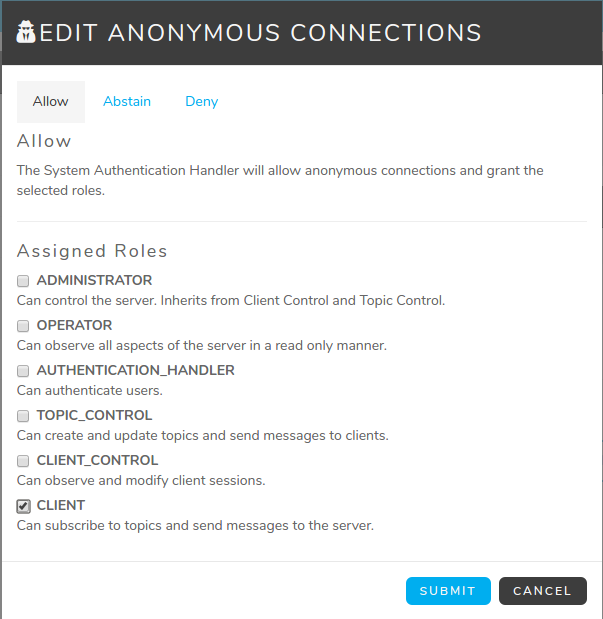
Select the Allow tab. This tab lists the default roles that can be assigned to an anonymous connection. Select the roles to assign. Click Submit to save your selection and close the wizard.
This page last modified: 2019/11/22